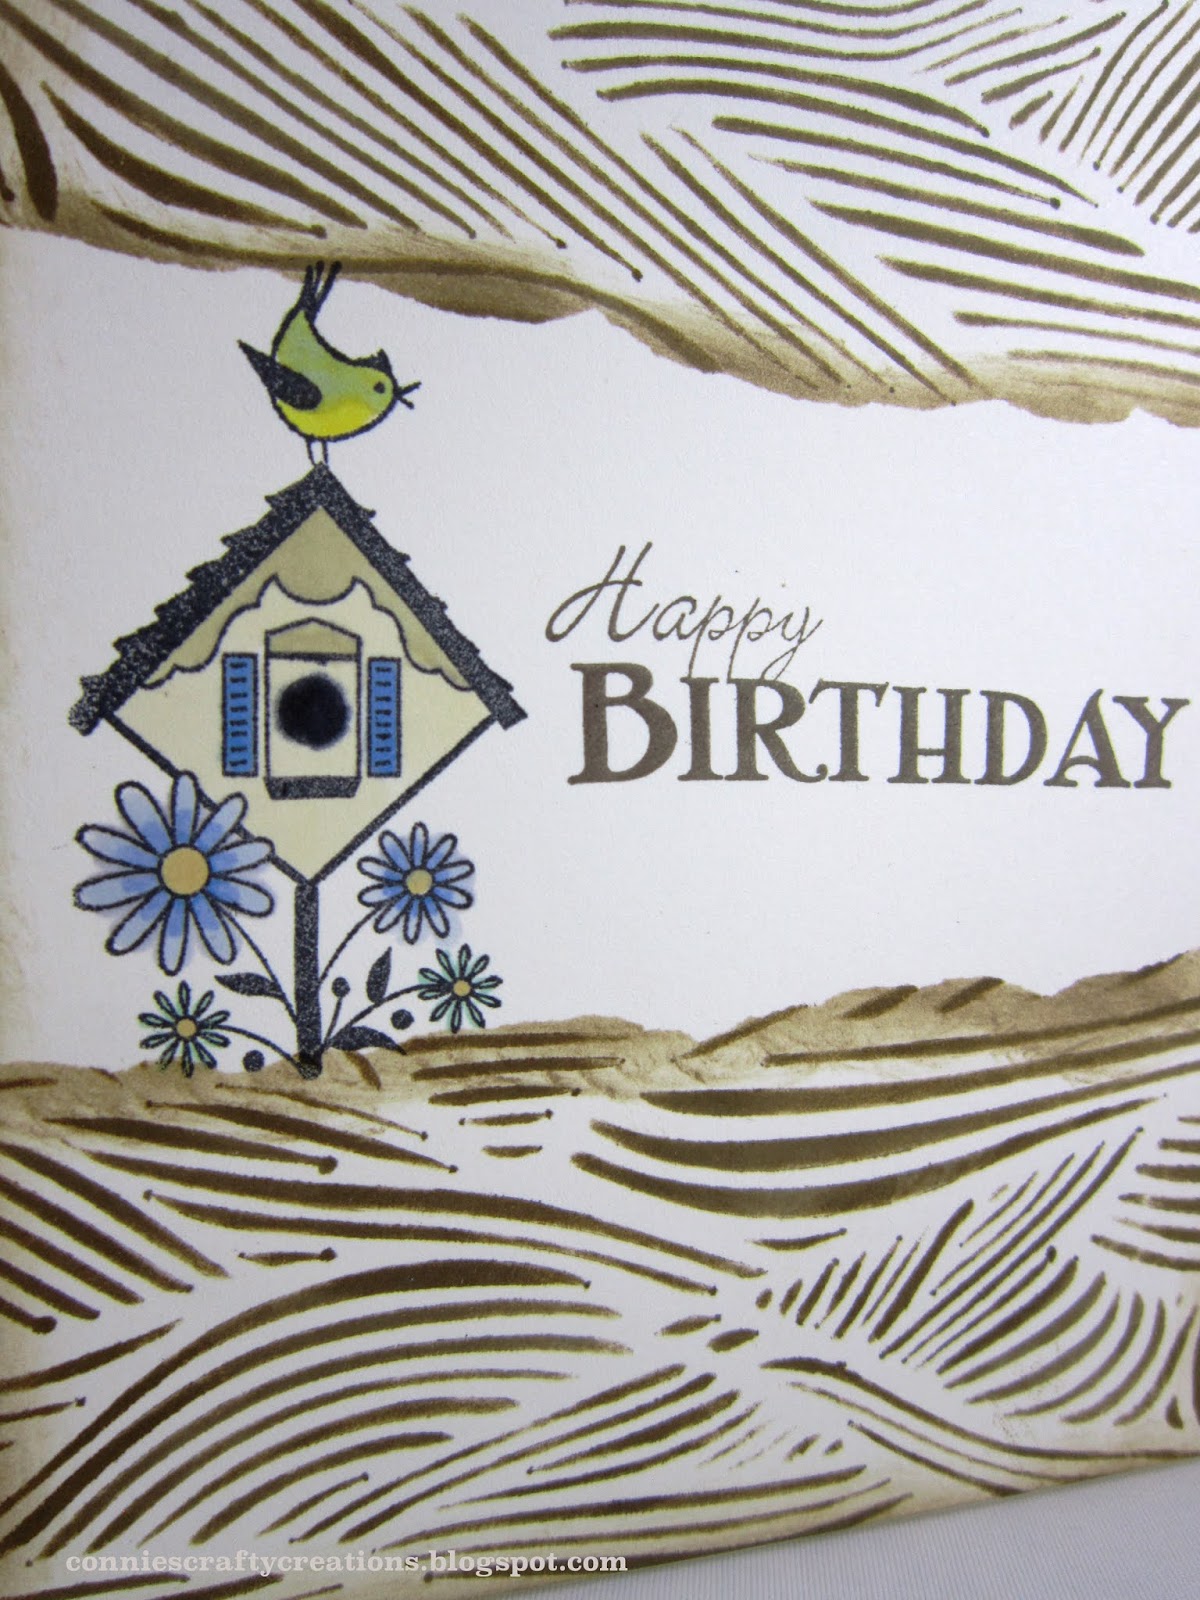
I cut my paper to A2 size and then tore a strip of lightweight paper to cover the center portion of my card where I will later add my stamped image and sentiment. Lay your stencil on top of that and then using two brown inks I inked up my stencil, then after removing the stencil you ink around the edges of the torn paper and your card. Such a quick technique but looks so neat and this is a one layer card, so no problem with mailing.

Hero Arts - Sea & Sky stencil, inked with Frayed Burlap and Gathered Twigs Distress inks
Inkadinkado - For the birds stamp set, colored w/markers and All Occasions sentiment stamp
Thanks so much for taking the time to stop by, and if you are in one of the HOT spots around the U.S. I hope you are staying cool.
Connie
Oh how fun --- it really does look like torn paper! Love that pretty little birdhouse in blue too!
ReplyDeleteJust a lovely design with the torn paper and colors.
ReplyDeleteHugs Diane
Fabulous technique Connie, love that gorgeous bird house as well, Have a lovely weekend. ♥
ReplyDeleteWowza. You really did a bang up job on this technique. Love love love
ReplyDeleteThis is so clever! I must give this technique a try. A gorgeous birdhouse card.
ReplyDeleteLove it.
ReplyDeleteI love this so much! That stencil goes great with the bird image!
ReplyDeletethis sounds like a bit of work, but the result is gorgeous!! such a sweet bird house, with the tweet, tweet on top!! it's hot here and we had a storm/rain today, but nothing like what was forecasted!!
ReplyDeleteVery nice ...
ReplyDeleteAll the best Jan
Lovely! Great technique and wonderful looking background!
ReplyDeleteSo sweet!Hugs!
ReplyDelete