Friday, May 15, 2020

Smooshed impression

In my stamping group one of the ladies said she was smooshing her leaves into paper to make prints of them and using them for backgrounds on her cards, another of the ladies did it too and I just loved the look. 

Well one day after they were showing their cards my Miniature pine tree that I have in my house had one of the branches fall off, probably from lack of watering, my bad.  Instead of throwing it out I took it into my craft room, later that day I went in and cut two pieces of paper, sandwiched the branch between the two papers, then put them into a piece of copy paper I had folded over and ran them through my cuttlebug with the A plate and two B plates and this is the results I got for these two backgrounds. I did run it through back and forth many times. I am not sure how they were doing there smooshing technique, but this is what I came up with.  It left the color from the needles but it also left a bit of an impression.


Smooshed background, using miniature pine branch, ran through cuttlebug
K&co. - Flora & Fauna die cut cardstock and vellum
Gold splatters
DieVersions - Celebrate die
Tim Holtz - Metallic collection card stock

The first card was a Feminine birthday card, the second card is a masculine card.


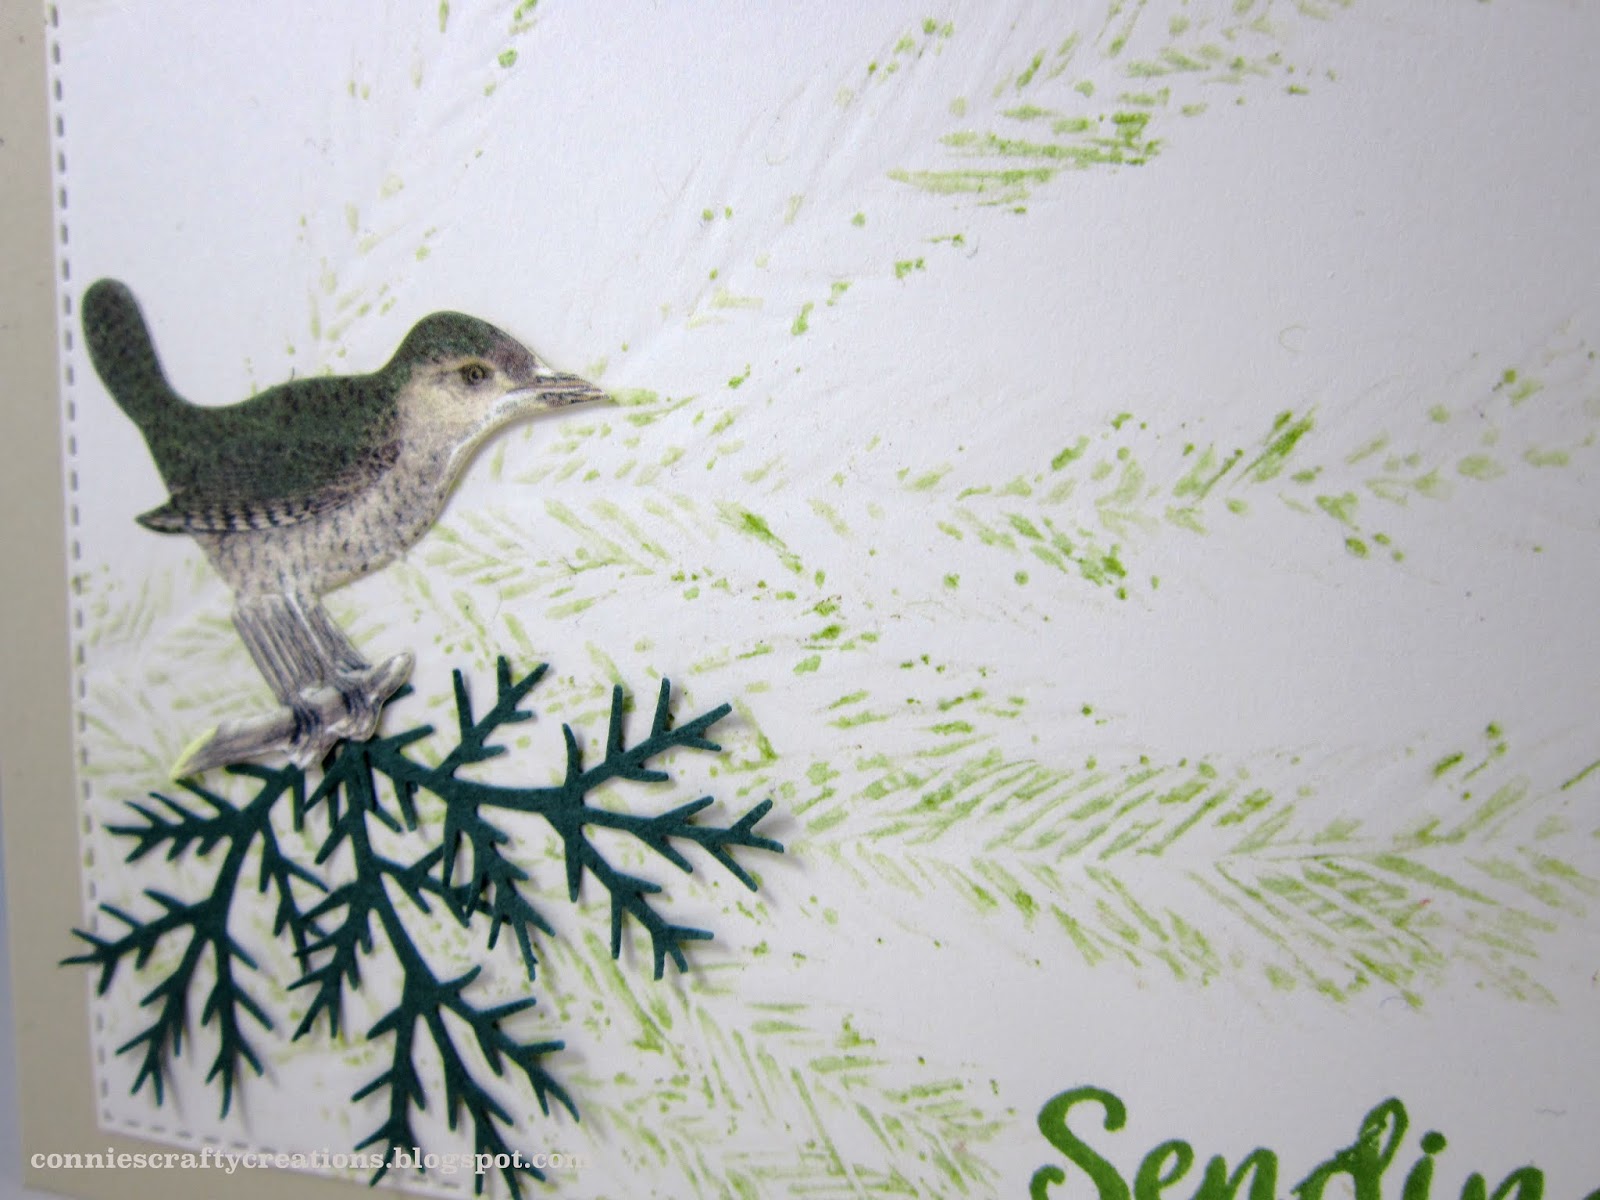
Smooshed background, using miniature pine branch, ran through cuttlebug
Anna Griffin - Avian Collection cardstock stickers (bird)
McGill - branch punch
Memory Box - Stitched rectangle layers die
The Greetery - Sentiment Suite : Thinking of you stamp set

Maybe you can see the impression it left a little better in this picture.

I need to trim the tree that I posted the other day that is in our back yard, some of the branches are hanging over into our neighbors yard, I plan on trying to press them with the cuttlebug too and see how they come out, I think the color of the leaves would leave a neat impression.

Oh by the way Diane gave me a suggestion of what kind of tree it maybe and when I looked it up to see, I actually found (I think) what my tree is, it wasn't the one that Diane suggested but it popped up some others that I did not get when I tried searching.  I think our tree is a Purple leaf sand cherry.  Thanks Diane for the suggestion that lead me too what I think ours is :)

Hope you all enjoy a wonderful weekend ahead of fun and creativity!
Thanks so much for taking the time to stop by,

Connie

Thursday, May 14, 2020

Iris

After finishing the card I posted a couple days ago using the embossing folder and stamps, I still had all the goodies sitting out, when putting them away I saw this Iris die cut that came in the same pack and thought I need to use that before putting this all away.  I love how it has a separate die that you layer on top to give the flower more of a dimensional look. The butterfly comes in the set too.

I have used my finger daubers and a combination of distress and pigment inks to color the flower.


Craft Essentials 101 magazine kit - Iris die,  color w/distress and pigment inks
Spellbinders -A2 matting basics A die
Memory Box - Stitched layers die
Pebbles Inc. - White Rubon sentiment


 Our Iris have all bloomed here, they look a little sad right now because of the rains and wind we have had, but last fall I took some out they were getting to compact and this year they have come up looking terrific!

Hope you are doing well and I thank you for taking the time to stop by and say Hi,

Connie

Tuesday, May 12, 2020

Triple Stamping Silhouette

Last time I made one of these cards I used a stamp that I could color, this time I went with a silhouette stamp.  You can see the last one I made HERE.

I am thinking I liked the first one I made better but I do like this one too.


I added the butterfly and the sentiment into the center of the stamp.

Inkadinkado - Garden Flowers stamp set
Tim Holtz - Vintage Shabby papers
Hot off the press - 130 tiny words and phrases dazzle stickers

I thought I would share some pictures of the tree in the corner of our yard when it was blooming back on April 6th.  I have no idea what kind of tree it is, it was here when we bought the house and it blooms every spring, the leaves are a dark burgundy and stay that way all season, it isn't a maple, it has died off and replanted itself and has never grown very tall after the 15 years we have been here.


Hope you are all staying well and Thanks so much for taking the time to stop by,

Connie

Sunday, May 10, 2020

Many Happy Returns

I had picked up this magazine that comes in a box at Barnes and Noble bookstore just before all this covid stuff hit, I decided I needed to break it open. The embossing folder and stamps came in the box.

I first embossed the background then I did some blending with my inks and my blending tool. over the embossed areas.  I then took a yellow ink and went over the center area.  I colored the stamped image with my markers and cut it out.  I felt it needed a little more and I have a roll of this loose weave mesh that I believe I picked up at Hobby Lobby a few years ago, so I put that down for a mat for my flowers to rest on and then finished it off with a little bow! Had to add a few gems to top it off!


Craft Essentials, 101 kit - Embossing folder and stamp, colored w/markers
Distress Oxide - Wild Honey
Distress Inks - Cracked Pistachio
Jute
Gems


For all of you celebrating Mother's day today I hope you enjoy your day even though most of us can't be with our kids.

Hugs,
Connie

Saturday, May 9, 2020

Flyin' by

Our challenge in our stamp group this week was to use a flourish stamp on our card.  I have a few flourish stamps from Inkadinkado and I picked one that I thought would be a nice frame for my bird stamp.  I inked up the different portions of the stamp and inked separate using my Misti stamp platform. There were a couple spots I just couldn't get well so I used my pencils to fill it in.


I used some of my white enamel accents to add to the flower centers and then inked around the sides.

Inkadinkado - Floral Flourishes and Birds Galore stamp sets
My sentiments exactly - Little Birdie stamp for the sentiment
Enamel accents - White for the flower centers


Thanks so much for taking the time to stop by today,

Hugs,
Connie