Saturday, April 9, 2022

Stencils with Stamping

 The next challenge in our group is to use a stencil and stamp inside the open areas of the stencil with small bold stamps, before lifting the stencil take a thin marker and go around the inside of the stencil pattern to frame your stamping, you wouldn't believe the difference after you do the inking around them.

Then we were to make it into a card, well I was able to get two cards out of one of the patterns.


  • Folkart - Lovely Floral stencil
  • Rubberstamp tapestry- Butterfly blooms stamps
  • Distress Oxides - Fossilized Amber, Peeled Paint and Frayed Burlap
  • Tim Holtz - Crochet die and Botanical layers TH93554 (butterfly)
  • Sassafras - Mix and Mend paper
  • Fiskars - Essential sayings sentiment stamp

The second card was done in much the same way just different embellishments


  • Folkart - Lovely Floral stencil
    • Rubberstamp tapestry- Butterfly blooms stamps
    • Distress Oxides - Fossilized Amber, Peeled Paint and Frayed Burlap
    • Crafters Companion - Beautiful borders die
    • Stamps of life - Stand up 4 sentiments stamp
    • Sassafras - Mix and mend paper
    • Martha Stewart - Butterfly punch
    • pearls


    Here are the panels I did before I cut the one up for cards, not really sure how to use the other panel I made.
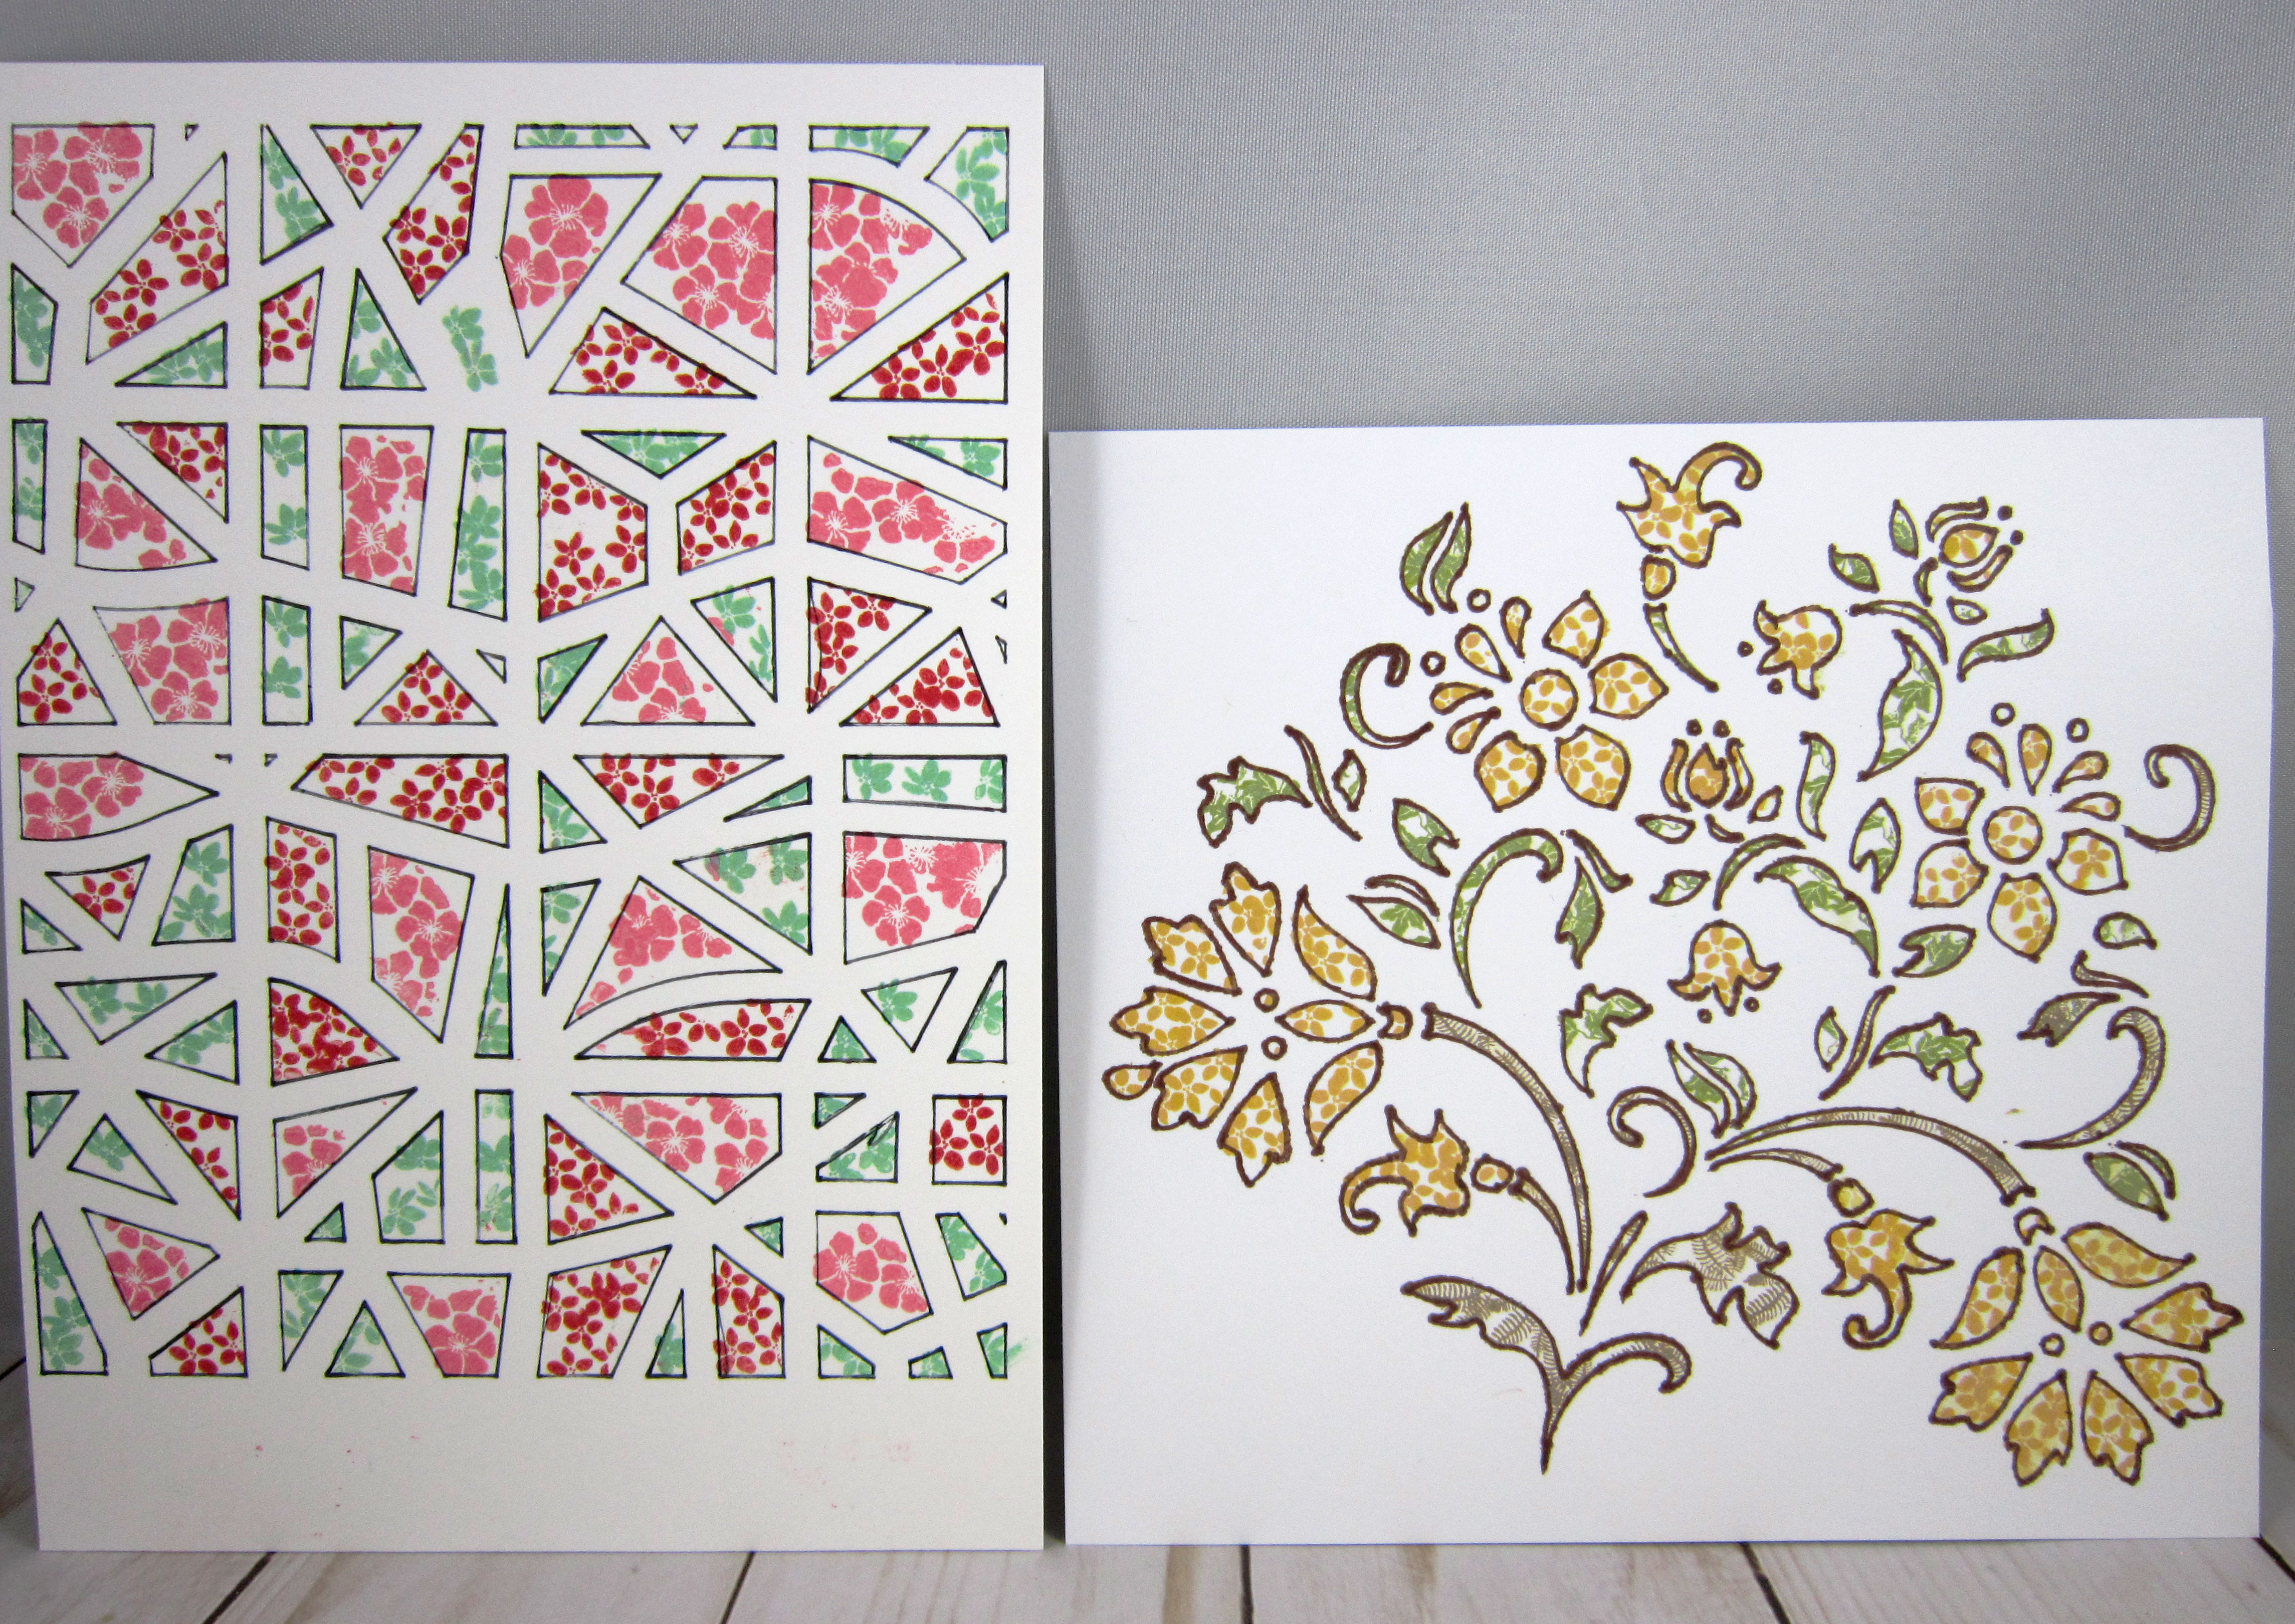


    Thanks so much for taking the time to stop by and hope you enjoy your weekend, the sun is back out for us a couple days so I am going to enjoy it!

    Connie

    Thursday, April 7, 2022

    Frame

     In our next challenge we were to make a spring or Easter card using a frame stamp.  I had to do some digging but I found one, I think I bought this set probably over 5 years ago, it was on sale for $2 and I thought surely I can use something from this set for that much, wellll it took this challenge for me to finally break it out and use it.  

    I used the flowers and border stamps that come in this set also.  The background was one I made in our last zoom meeting.  I did this lift with some thin paper so it buckled a little bit as you will see better in the close up picture.


    • Martha Stewart - Heart & Flowers stamp set
    • RS Tapestry pegstamps - Trellis leaf vine
    • Background was done on my gelli plate
    • Hero Arts - All occasion messages sentiment stamp

    Thanks so much for taking the time to stop by today,

    Connie

    Wednesday, April 6, 2022

    Vellum

     The next challenge I tried in the group was to use vellum.  You scribble markers onto vellum and mostly cover the whole piece, then you take Rubbing Alcohol, preferably 90% or higher, and apply with a hard bristle brush dabbing over top of the markers, it blends and gives this great background, Made another piece to emboss with gold embossing powder this rose stamp and butterfly.  Using the same gold for the sentiment.  After I fussy cut out I colored the leaves in, I was suppose to do that on the backside before applying it with glue to a piece of white cardstock so the colors would show up but I had forgot to do that step, I think it still turned out ok, you just have to be careful with the embossing because the markers and the embossing don't do well together you could ruin your marker but I had an old marker I could use thankfully.

    The background piece was put through an embossing folder and then inked before applying to the background.  


    Here is a link to the video showing the process.

    • Spectrum noir alcohol markers - CR4, CR6 and CR8
    • Sizzix - Embossing folder, sorry no name has been inked after embossing
    • Spellbinders - Candlewick Rectangle die
    • Hot off the press - Watercolor roses stamp set
    • Altenew - Antique gold embossing powder

    I am sharing my card today with the Fourseasons challenge blog which is spring, I think these colors remind me of all the blooming trees right now!

    Thanks so much for taking the time to stop by today and say Hi,

    Connie

    Monday, April 4, 2022

    Twofer and Spotlight challenge

     Our stamp group is having a week of challenges and I posted two challenges for us to try out.  

    The first was to make a background using Alcohol inks, then die cut a piece out of them and you have both the positive and negative to use on two separate cards.

    HERE is a link of the technique if you would like to try it


    • Alcohol Pearl inks - Villainous and Envy
    • Memory Box - Dogwood Blossom die
    • PPD - Wavy Stitched Rectangle die
    • Stampendous - Sincere Sentiments


  • Alcohol Pearl inks - Villainous and Envy
    • Memory Box - Dogwood Blossom die
    • Hot off the press - 130 tiny words & phrases sentiment sticker
    The second challenge was to make a mask with a die and sponge ink in the center, then emboss the paper and add another ink on the raised areas, sand the raised bits a little bit and then make a frame using the die you used for the spotlighting, along with the next size up die to make a frame for it.
    Here is the link if you want to give it a try yourself.


    • Anna Griffin - Wildflower Gate embossing folder
    • Spellbinders - Large Deckled Rectangles die
    • K&co. - Birthday & Celebrate Vellum stickers sentiment
    Thanks so much for taking the time to stop by today,

    Connie

    Saturday, April 2, 2022

    Collage

     I am not really sure what to call this really. On my Pinterest feed these little works of art with different pieces and layering have been coming up lately and I think they are pretty but wasn't sure how I would use them, they never show them on a card.  But I thought I need to just play not having any reason for it just have fun creating something.  Well when I got the piece done I thought that would look pretty as a focal on a card, so I decided to only use pieces from my scrap pile to make the rest of the card.


    • Cardboard cut with Spellbinders - Labels 25 die
    • Flower pot off of a calendar
    • PPD - Mini Stitched Square die, sewn button on top
    • Crackle heat embossed background
    • Tim Holtz - Snippets ephemera pack (butterfly)and Small talk sentiment sticker
    • Cheese Cloth
    In the close up you can see the strip of heat embossed piece that I inked around the edges


    I like how just playing around and enjoying myself resulted in a pretty card for my friend.

    Thanks so much for taking the time to stop by and say Hi,
    Have a great weekend,

    Connie